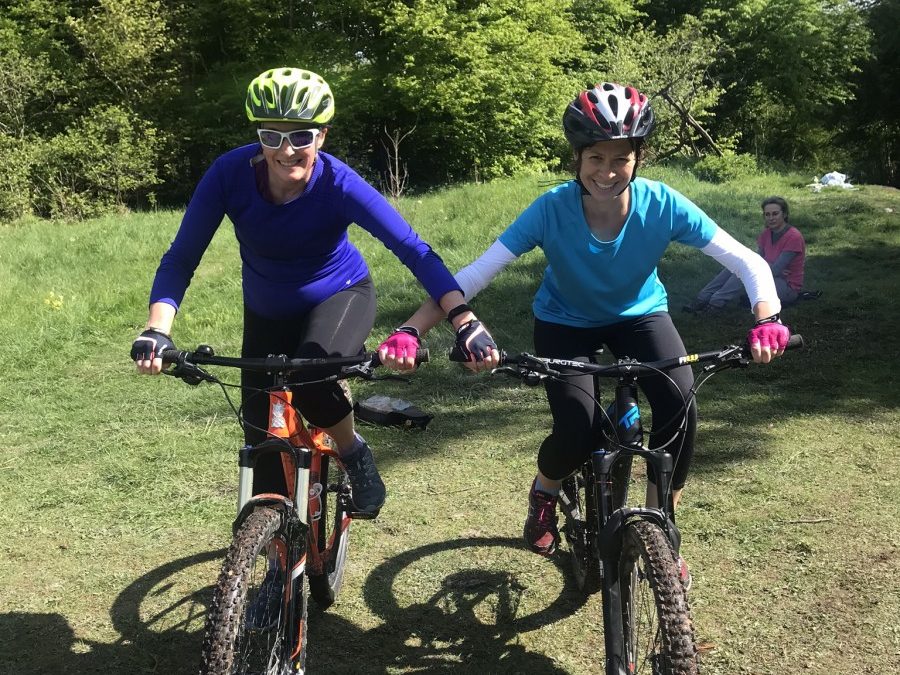
You don’t need mountains to go mountain biking. Any off-road trail can be an exciting adventure, a brilliant way of seeing our beautiful country, at the same time as getting fit.
Mountain biking is an exhilarating sport which everyone can enjoy. With some basic skills in your tool kit you can really make the most of your new-found hobby! Your position on the bike will make a big difference to how the bike handles and how you feel on the bike.
Mountain bike trail surfaces can include rocks, roots, ruts, sand or mud. The variable terrain and the obstacles are all part of the fun, but can be unnerving to beginners. Being in the right body position helps you get through tricky sections of trail.
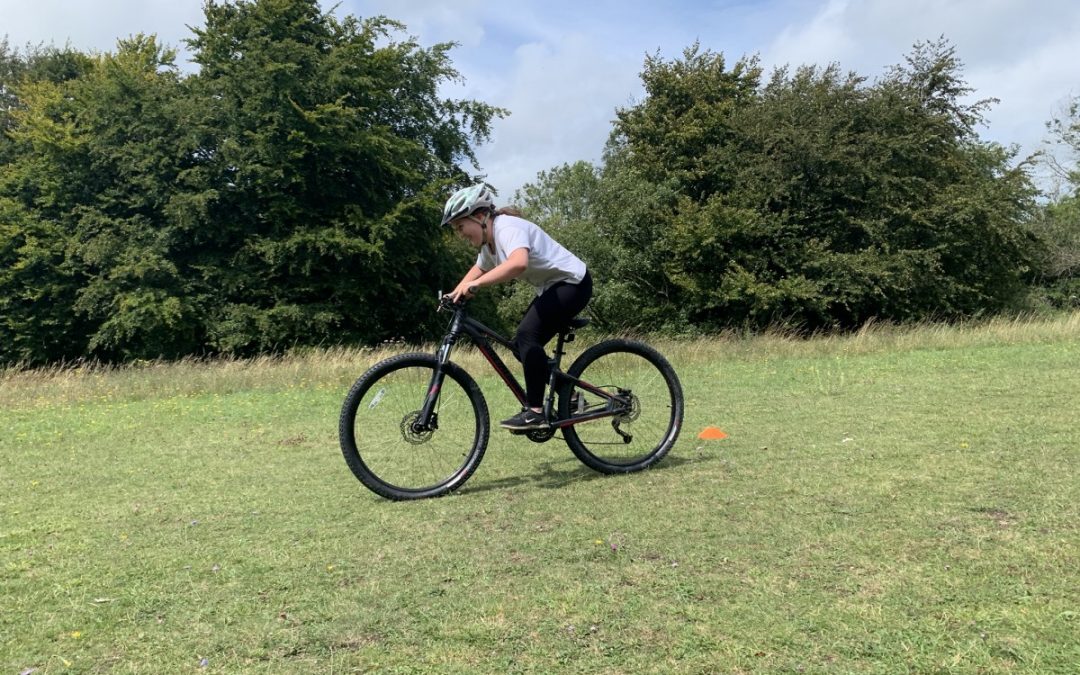
The first thing you need to master is the ‘ready’ or ‘attack’ position.
This is the position you will use when going down singletrack trails to keep your feet out of the way of obstacles but also to allow the bike to move underneath you and grip the ground.
Ready position:
Body weight:You want to stay centered over the bike laterally, but keep your weight shifted back over the rear wheel. (The steeper the descent, the further back you shift your weight).
Bum:Off the saddle this allows the bike to move underneath you. Also creating a wider base for you to move around the bike than when you’re sitting down.
Feet:Keep your pedals level, heels down pushing the pedals forward. This keeps your weight balanced and helps ensure you don’t catch a pedal on a rock.
Arms and legs:Keep them loose – they’re your shock absorbers. Your knees and elbows should be bent. Staying relaxed and loose on the bike will also help you react quicker.
Hands:Maintain a light grip on the handlebar, don’t tense through your shoulders. No death grip!
Head and eyes:You should be looking down the trail at least 3 metres ahead so you can react to the changes in the trail.
Fingers: Feathering your brakes with one finger, trying not to over brake in the corners.
Picking a Line:
The rougher the terrain, the more you have to let the bike float underneath you, this is where keeping in mind the points above and staying in the ready position will help you feel relaxed and comfortable on the bike. Your wheels will move in different directions as you hit bumps, and that’s OK. Just keep your body upright, relax your grip and keep the bike pointed down the trail.
Another key point is to look where you want to go, not at the things you want to avoid!
Pick the path of least resistance down the trail. The hazards you will need to watch out for will depend on your skill level. A log that will stop one cyclist may be a fun bunnyhop for another. Generally, look for loose rocks, deep sand, water, wet roots, logs and other trail users and animals.
Pick your line: scan ahead for hazards by looking about 3 – 7 metres down the trail. Then, move your eyes back toward your tire. Doing this up-and-back action allows your eyes to take in lots of information. Knowing hazards ahead of time can help you adjust your balance and pick a line around them.
Braking
Braking on a mountain bike should be a controlled and considered. Most of your control braking power comes from your front brake, but grabbing a handful of front brake will send you doing cartwheels. Instead, lightly feather the brakes, and do so evenly on the front and back brakes. Avoid sudden, fast squeezes to help prevent skidding.
When braking stay in the ready position. Move your hips back, drop your heels down and keep a slight bend in your knees and elbows.
When to Brake
When approaching a turn, brake before you hit the turn, and then let your momentum carry you through. This allows you to focus on your technique through the turn and exit the turn with speed. Then apply the brakes ready for the next trail obstacle.
Momentum is your friend when getting up and over obstacles on the trail. Keep your momentum and you will often roll over or off certain features easily, if in doubt stop and look at the feature before riding it.
I hope you have enjoyed this article on body position and braking for beginner mountain bikers. If you would like to improve your mountain biking, like with any sport, getting a coach can mean you improve quicker and don’t pick up so many bad habits.
“During the past three years, researchers from Napier University have been conducting a massive research project with Enduro World Series participants collecting information about mountain bike injuries, and more importantly how to prevent them. “The survey was carried out by Sports Scientist Dr Debbie Palmer of Edinburgh Napier University and covers the full breadth of participation, from our recreational rider base right through to the upper echelons of elite athletes.”
The report comprises of two separate pieces of research. The first questioned 2,000 EWS-racing athletes, from 46 countries, across 10 EWS races, recording how, when, and where they were injured. Highlights include the most frequently occurring injuries and those injuries that resulted in the most days spent off the bike recovering.
The findings are rather fascinating which low concussion rates and more injuries during the 2016 XC mountain bike race in RIO in 2016 than in the Enduro World Series events!
It doesn’t come as a surprise that shoulder and clavicular injuries are the most common. These injuries typically involve a long recovery – 25 days on average.
So, how can enduro rider’s improve their strength around their shoulders to decrease this injury risk.
(Picture thanks to EWS report)
What makes up your shoulder?
The shoulder is an extremely complex joint made up of three bones: the clavicle (collarbone), the scapula (shoulder blade), and the humerus (upper arm) as well as the associated muscles, ligaments and tendons.
The humerus loosely attaches to the scapula in a ball and socket joint that allows the arm to rotate in a circular manner or to hinge up and away from the body. The joint must be mobile enough to do a wide range of dynamic movements (like throwing), but also stable enough to lift heavy objects and push and pull. This compromise between mobility and stability means the muscles need to be strong and stable to protect this joint.
The major muscles involved with movement of the shoulder are the four rotator cuff muscles and the deltoid. These muscles allow the upper arm to rotate in and out, move forward, out to the side, and behind the back. Tendons are the bands of fibrous connective tissue that attach these muscles to the humerus.
Here are our top 5 shoulder stability exercises to help you combat those injuries.
Rotator Cuff External Rotation with Band
Palms facing up hold the band out in front of you
Keep your elbows tucked in
Forearms parallel to the ground
Breath in, on the exhale open the band to the side
Hold for the inhale
Exhale bring arms back to the centre
Repeat 5 times
To increase strength add in pulses once the band is opened to the side
High to Low Row
Attach a resistance band to something sturdy at or above shoulder height. Be sure it is secure so it doesn’t come lose when you pull on it
Get down on one knee so the knee opposite the outstretched arm is raised. Your body and lowered knee should be aligned. Rest your other hand on your raised knee
Holding the band securely with your arm outstretched, pull your elbow toward your body. Keep your back straight and squeeze your shoulder blades together and down as you pull. Your body should not move or twist with your arm, engage your core muscles to stop this from happening
Return to start and repeat 3 sets of 10
Reverse Fly
Stand with your feet shoulder-width apart and your knees slightly bent. Keep your back straight and bend forward slightly at the waist
With a light weight (bean cans of full water bottles will do) in each hand, extend your arms and raise them away from your body.
Do not lock your elbow. Squeeze your shoulder blades together as you do so.
Do not raise your arms above shoulder height
Return to start and repeat 3 sets of 10
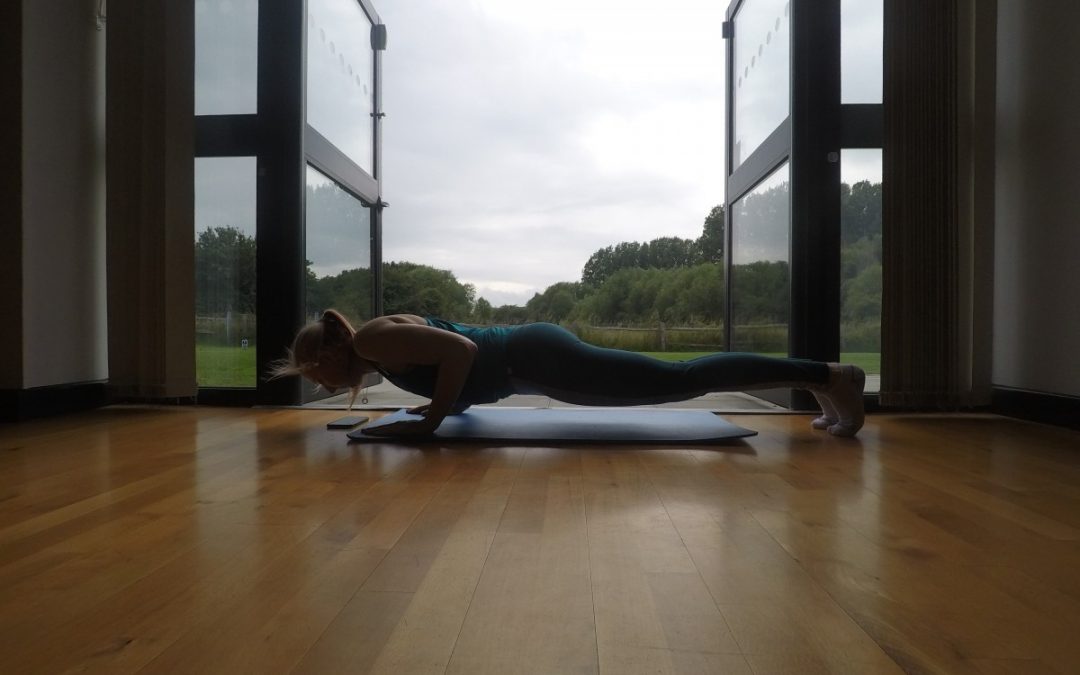
4. Press Up (Bi-cep)
Start standing, bend your knees and put your hands on the floor so they are under your shoulders
Lift your knees off the floor so you are in a sloping position, don’t stick your bum in the air or let your hips drop (keep your knees on the floor for a modified box press up)
Hands facing forward slowly lower your nose towards the floor, elbows moving outwards
Engage your core, (pull your belly button towards your spine) to help protect your lower back
Inhale at the bottom, exhale and push yourself back up into the sloping position
5. Press Up (tri-cep)
Start standing, bend your knees and put your hands on the floor so they are under your shoulders
Lift your knees off the floor so you are in a sloping position, don’t stick your bum in the air or let your hips drop (keep your knees on the floor for a modified box press up)
Hands facing forward slowly lower your nose towards the floor, elbows moving towards your hips, arms grazing the side of your body
Engage your core, (pull your belly button towards your spine) to help protect your lower back
Inhale at the bottom, exhale and push yourself back up into the sloping position
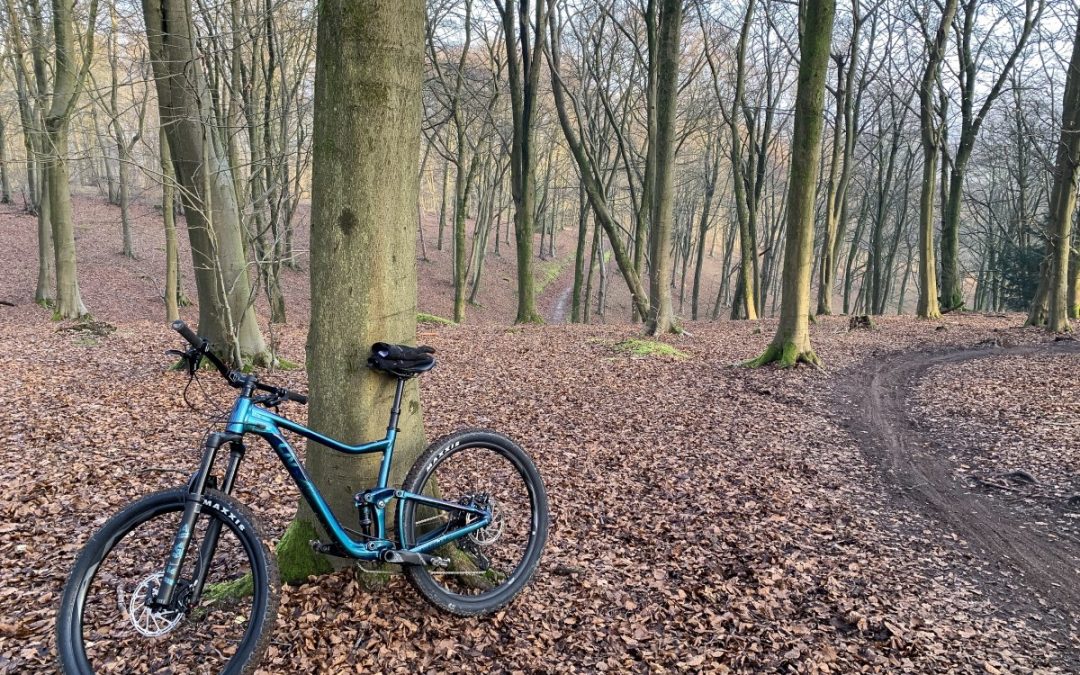
Drop offs come in all shapes and sizes, from rock steps, tree stumps/roots or purpose-built obstacles. Learning to negotiate these by jumping will help your trail flow and improve your riding.
At some point on red graded trails you will come across a drop off. In some cases these can be rolled, but sometimes and to add some fun they will need to be jumped. Rolling will only work with smaller drops. The bigger the drop the bigger the risk of catching your chainring and going for flying lessons, something we all try to avoid!!
Start with learning how to manual on a flat field (video on its way) then progress to little curb sized drop offs where if you get it wrong it won’t matter too much.
Tips:
Enter at jogging pace
Spot your exit point
Pump down and back as you manual off the lip of the drop off, pushing the bike forwards
Try and land two wheels at the same time, if you are landing onto a downward slope your front wheel may get there first
Remember to keep your weight down and back, heels down
Once you have got your manual technique sorted on smaller drop offs it’s time to look at bigger drops. With more speed you can just slide your weight back and need less pump to get you over the drop. These will usually require a bit more speed and the entry and exit lines become very important. As you enter the drop off you need to commit, come off the brakes and spot your landing. On exiting let the bike land before cornering or braking, in an ideal world, look where you want to go!
Try walking a new line before riding it so you can spot the best line through the feature.
Thank you for reading, check back for more posts on mountain biking and Pilates soon!
Learning to ride a mountain bike is easy. Learning to ride a mountain bike really well is harder and takes practise and patients. However, get the basics right at the start and you’ll enjoy every minute you ever spend on your mountain bike.
Once you have the basic principles of riding a bike like, how to brake and use the gears. There is a whole world of new skills to learn that you can develop to take your riding further and faster.
There are two key elements to mountain biking, physical effort and mental awareness. It’s only when you combine them together that you can effectively start pushing your riding boundaries to new heights.
Physical
Mountain biking involves your entire body. Your core muscles, back, shoulders and arms all play a role alongside your legs and lungs. Mountain biking is a great cardio workout and to a certain extent is non load bearing on your joints which is great! This changes when you start jumping of course!
Mental
This is possibly the harder part. Mountain biking can be as much a mental game as a physical one. The belief in your own skill and ability holds a lot of riders back and it’s worth working on your mental ability to flow through a trail as much as the physical.
This is true for a lot of ‘extreme’ sports knowing what you are capable of and how far you can push your own limits is what keeps us safe and that mental ability to read a situation and keep moving forward and commit is key to riding a mountain bike smoothly.
Top tips for starting out mountain biking.
Relax, breathe and smile!
This is really important, to enable you to flow through the trail. Stiffen up and grip hard on those bars and you make your life a lot harder. Try to breathe consistent steady breaths from your rib cage. Visualise what it will feel like to nail the section of trail in front of you.
Look where you want to go…
You don’t find a lot of straight, smooth trails when mountain biking. Every trail evolves and you need to ‘read’ the sections as they approach. To do this you need your eyes up looking where you want to go. Pick the smoothest line of travel where possible to allow the bike to flow and maintain traction and speed.
Pedalling
Effective pedalling comes from being able to pedal in circles think about scraping your foot backwards, like your wiping something off your shoe, at the bottom of the pedal stroke and flicking your ankle as you return to the top of the revolution.
Cadence is also important don’t plummet to your lowest gear at the sign of an incline instead try and keep your feet moving at the same pace and when you cannot maintain your rpm (revolutions per minute) change gear.
Body position
The front and rear wheels both deliver traction, this keeps you gripping the floor and driving the bike forwards. On flat ground you’ll be sat on the saddle or up in the neutral or ‘ready position’ this is where you pedals are level (unless you are pedalling of course) your knees and elbows are bent and fingers are covering the brakes. In this position you are ‘ready’ for trail features with your feet well away from tree stumps etc… Both wheels are weighted due to your position over the centre of the bike. As the terrain changes from flat to up or downhill, you’ll need to adapt the position to slightly further back. For climbing this works in the opposite direction often you have to push more weight through your arms to maintain traction on the front wheel, remember not to unweight the back wheel or you will slip out.
You’ll need to constantly adapt the position as you feel the grip or lack of it from each tyre and make the necessary body adjustments to suit. Relaxing and looking where you are going help to make this achievable.
Tyre pressures
Lower pressures will provide more grip and when you are leaning your bike into a corner or tackling rooty trails, grip is king. Running too little pressure will expose your rims to possible damage and snake bite punctures. It can also cause tyre sidewalls to fold and deflect. More air pressure makes the tyres feel like they run faster, it will be easier to climb but you will lose a little grip.
Brakes – you have two, use them both!
As a child you probably learnt to only use your back brake, maybe you used your front once and ended up in a heap. Although your back break is needed to control your speed your control comes from the front brake on a mountain bike. This becomes especially important on steep terrain when too much back brake allows the bike to skip sideways you need to be using that front brake for traction and control.
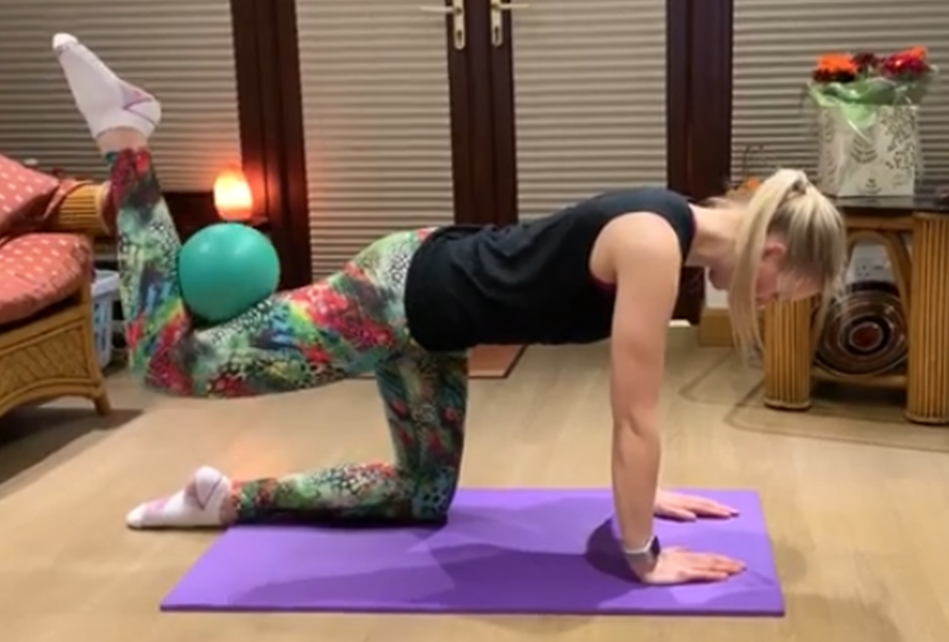
Here is my latest video on how to do Donkey Kicks with the fitball. These are a great glute workout, remember to keep an eye on your alignment and form to get the most out of your workout.
1. Start on your hands and knees with your knees under hips in a box position.
Place the ball in the back of your knee.
2. With your spine in neutral, pull your belly button tight towards your spine. Imagine you have a tray of drinks on your back, keep it steady. Eye line down and keep a long neck.
3. Slowly press your thigh back, working leg is bent parallel into a donkey kick. Drive heel up towards the ceiling, hold for two seconds then lower the knee.
Perform 8-10 Reps.
4. This time take the leg out to the side raising it only as high as to maintain level hips. Perform 8-10 Reps.
5. Next take the leg across behind the supporting leg, try to maintain a steady back drawing your belly button to spine and even weight in both hands.
Perform 8-10 Reps.
6. Release and stretch into a child’s pose and reset for the second side.
As part of our ’12 days of Christmas’ we thought it would be great to share some trail side tips! So please sit back and enjoy as Sean from Marmalade MTB shows us how to repair a split in your tyre wall with none other than a toothpaste tube! Trail side repairs can help get you out of a sticky situation or a long, long, long walk to the car!
THIS WEBSITE USES COOKIES
We use cookies to personalise content and ads, to provide social media features and to analyse our traffic. We also share information about your use of our site with our social media, advertising and analytics partners who may combine it with other information that you’ve provided to them or that they’ve collected from your use of their services. You can review our Privacy and Cookie Policies and at any time change or withdraw your consent from the Cookie Declaration on our website.