Drop offs come in all shapes and sizes, from rock steps, tree stumps/roots or purpose-built obstacles. Learning to negotiate these by jumping will help your trail flow and improve your riding.
At some point on red graded trails you will come across a drop off. In some cases these can be rolled, but sometimes and to add some fun they will need to be jumped. Rolling will only work with smaller drops. The bigger the drop the bigger the risk of catching your chainring and going for flying lessons, something we all try to avoid!!
Start with learning how to manual on a flat field (video on its way) then progress to little curb sized drop offs where if you get it wrong it won’t matter too much.
Tips:
Enter at jogging pace
Spot your exit point
Pump down and back as you manual off the lip of the drop off, pushing the bike forwards
Try and land two wheels at the same time, if you are landing onto a downward slope your front wheel may get there first
Remember to keep your weight down and back, heels down
Once you have got your manual technique sorted on smaller drop offs it’s time to look at bigger drops. With more speed you can just slide your weight back and need less pump to get you over the drop. These will usually require a bit more speed and the entry and exit lines become very important. As you enter the drop off you need to commit, come off the brakes and spot your landing. On exiting let the bike land before cornering or braking, in an ideal world, look where you want to go!
Try walking a new line before riding it so you can spot the best line through the feature.
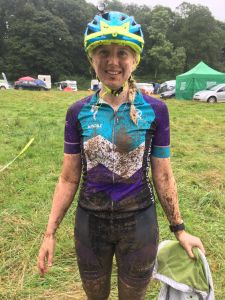
Thank you for reading, check back for more posts on mountain biking and Pilates soon!
Whether you’re riding on or off-road after working hard to get to the top of the hill it’s good to be able to recover and enjoy the descent.
In this blog post I am going to give you my top tips for going downhill on your bike with confidence.
Mountain Bike:
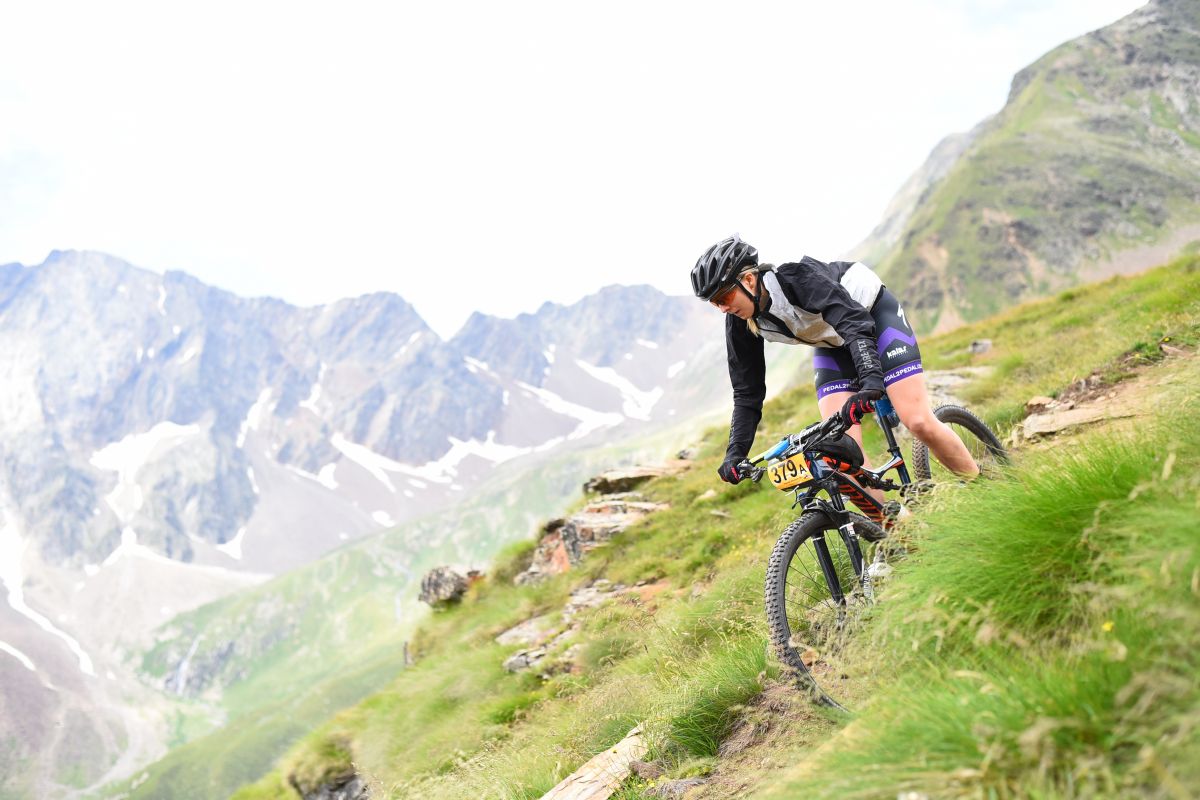
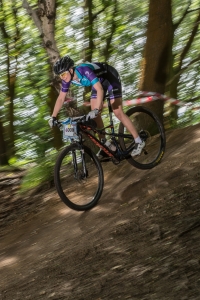
Going downhill on a mountain bike is the most exciting part, most of the time, gravity takes charge and with good skill you can navigate down almost any terrain whilst the countryside zips past, with the wind on your face and the ground undulating underneath you it’s a thrilling experience, as long as you feel safe and in control that is.
Here are my tips on riding with confidence downhill on a mountain bike.
Get your body in the correct position. Make sure your feet are level on the pedals, this is called the ready position; raise your bum off the saddle so you can move around on the bike. Have a bend in your knees and elbows, your heels should be down pushing into your pedals.
Keep two fingers over your brakes all the time this allows you to gently squeeze them on as and when you need them. Use your back brake before your front brake.
Stay relaxed. Your knees should be pointing slightly outside your toes, not gripping your frame and your upper body should be loose. Do a few shoulder rolls and you will soon find out if you have tensed up.
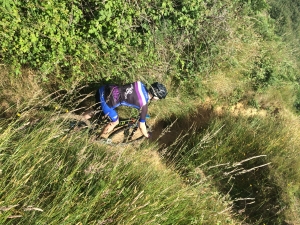
Look where you want to go. This sounds like an obvious one but looking further ahead enables you to pick the best line down the trail so you can flow down the single-track not losing any speed and avoiding obstacles.
Practise makes perfect. Practise your descending technique on hills you feel comfortable with and as you feel more confident move to steeper longer descents.
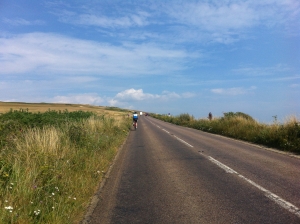
Road bike:
The speeds you can reach on a road bike can be incredible, to enable you to be safe on the roads here are some key points you should follow.
Controlled braking. Control your speed using periods of braking with both your front and rear brake together with equal force.
Descend on the drops. You can get more leverage on the brake levers if your hands are on the drops, rather than the hoods.
Body position. If you want to slow up use your body as a wind brake by sitting up.
Look ahead for hazards. It’s important to spot hazards early, which means looking well ahead down the road to anticipate any potential obstacles, changes in terrain or oncoming traffic. Wet drain covers, painted lines, speed bumps, gravel and leaves should be avoided were possible.
Set your speed before a corner. This applies off-road as well; setting yourself up to carry the speed you are comfortable with around the corner is important for smooth, safe cornering.
I hope you have found these tips helpful. If you would like to find out about coaching or have a question please comment below.
THIS WEBSITE USES COOKIES
We use cookies to personalise content and ads, to provide social media features and to analyse our traffic. We also share information about your use of our site with our social media, advertising and analytics partners who may combine it with other information that you’ve provided to them or that they’ve collected from your use of their services. You can review our Privacy and Cookie Policies and at any time change or withdraw your consent from the Cookie Declaration on our website.OkPrivacy policy