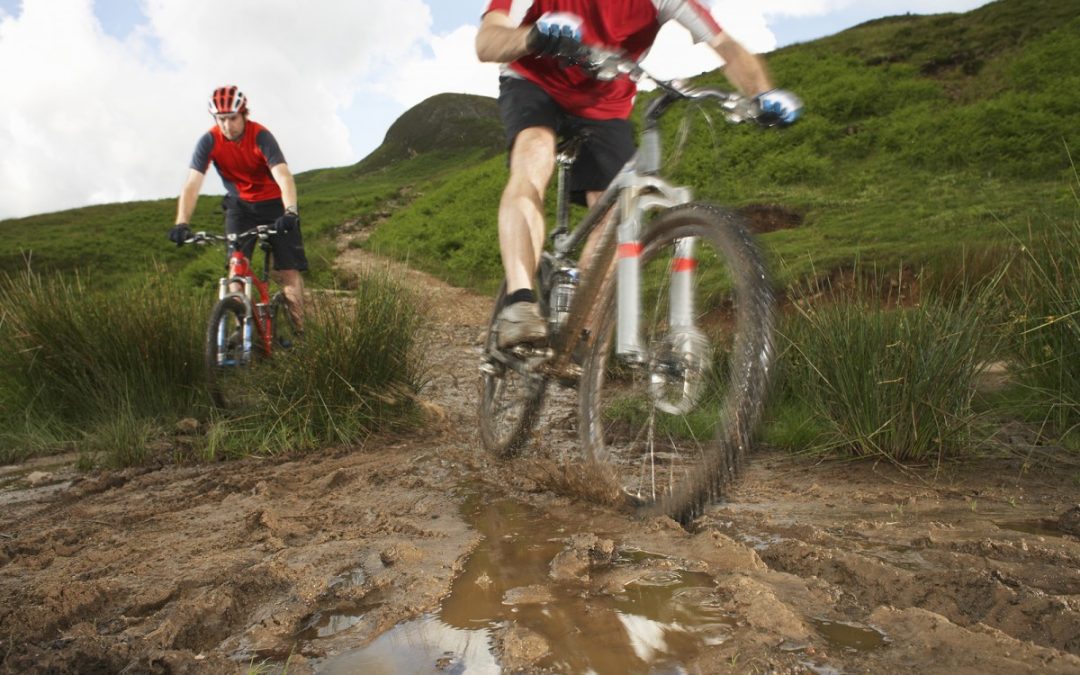
If this will be your first winter season of mountain biking, you’re in for some different conditions to what you may have experienced during the summer. Even if you’re a seasoned mtb rider, it never hurts to remind yourself of the essentials when it comes to tackling wet and muddy trails.
Luckily, off-road.cc has some handy tips to help ensure you stay safe and enjoy those winter trails. Don’t forget that we also run mtb courses in South Wales, so come and see us if you want some extra tuition and guidance.
The first piece of advice is to remember to look up. Sounds simple, doesn’t it? But it’s easy to get distracted by puddles or particularly muddy stretches of track. Just remember that you need to keep your eyes on where you want to go though.
The other reason this is important is because it keeps your weight centred on the bike. This is really important when you’re tackling muddy trails, as too much weight front or back will either cause your wheels to dig into the mud or to slide out.
Braking can be a tricky skill to master on a mountain bike, but it’s really important that you give it extra thought when it’s muddy. Start braking earlier than you would in dry conditions and with less power to prevent your wheels from locking up and sliding.
If you think you’ll need some motivation to keep riding during the winter months, think about signing up for an event or two in the spring. That will give you something to aim for and could provide the extra push you need to get out on those trails when the weather is a little less inviting.
You may think the best way to improve your riding is a lighter bike… more travel or other fancy up grades. Yes, these may make your bike lighter, more able to soak up bigger impacts etc but they don’t make YOU a better rider.
A simple way to improve your riding is to start looking at your mountain bike technique. Today I wanted to talk to you about your feet and hands. You ride your bike mainly with your feet, standing up on the pedals in the ‘ready’ position, pushing your weight into them during cornering and driving the pedals forward as you pop off a drop off. Making your feet heavy allows you to control the bike and makes the bike work for you.
The other thing to mention is your hands, when we first start out on a bike, if things get a little hairy we tend to over grip clinging on to the handle bars for dear life… this doesn’t help you with your balance and control on the bike. Imagine you have your favourite chocolate bars in your hands if you over grip you will turn them to mush, so be light on those handlebars.
Mountain bikes are very capable, the best way to allow your bike to work is relax, bring your weight down into your heels, keep the ball of your foot on the pedal to create a stable platform and think about pushing yourself forward with your heels. Breathe out when you get to trail sections that worry you or find a good song to sing so your brain goes into autopilot.
It’s a great feeling once you flow effortlessly down the trails, but it takes practise keep at it and let us know how you get on by commenting below.
You don’t need mountains to go mountain biking. Any off-road trail can be an exciting adventure, a brilliant way of seeing our beautiful country, at the same time as getting fit.
Mountain biking is an exhilarating sport which everyone can enjoy. With some basic skills in your tool kit you can really make the most of your new-found hobby! Your position on the bike will make a big difference to how the bike handles and how you feel on the bike.
Mountain bike trail surfaces can include rocks, roots, ruts, sand or mud. The variable terrain and the obstacles are all part of the fun, but can be unnerving to beginners. Being in the right body position helps you get through tricky sections of trail.
The first thing you need to master is the ‘ready’ or ‘attack’ position.
This is the position you will use when going down singletrack trails to keep your feet out of the way of obstacles but also to allow the bike to move underneath you and grip the ground.
Ready position:
Body weight:You want to stay centered over the bike laterally, but keep your weight shifted back over the rear wheel. (The steeper the descent, the further back you shift your weight).
Bum:Off the saddle this allows the bike to move underneath you. Also creating a wider base for you to move around the bike than when you’re sitting down.
Feet:Keep your pedals level, heels down pushing the pedals forward. This keeps your weight balanced and helps ensure you don’t catch a pedal on a rock.
Arms and legs:Keep them loose – they’re your shock absorbers. Your knees and elbows should be bent. Staying relaxed and loose on the bike will also help you react quicker.
Hands:Maintain a light grip on the handlebar, don’t tense through your shoulders. No death grip!
Head and eyes:You should be looking down the trail at least 3 metres ahead so you can react to the changes in the trail.
Fingers: Feathering your brakes with one finger, trying not to over brake in the corners.
Picking a Line:
The rougher the terrain, the more you have to let the bike float underneath you, this is where keeping in mind the points above and staying in the ready position will help you feel relaxed and comfortable on the bike. Your wheels will move in different directions as you hit bumps, and that’s OK. Just keep your body upright, relax your grip and keep the bike pointed down the trail.
Another key point is to look where you want to go, not at the things you want to avoid!
Pick the path of least resistance down the trail. The hazards you will need to watch out for will depend on your skill level. A log that will stop one cyclist may be a fun bunnyhop for another. Generally, look for loose rocks, deep sand, water, wet roots, logs and other trail users and animals.
Pick your line: scan ahead for hazards by looking about 3 – 7 metres down the trail. Then, move your eyes back toward your tire. Doing this up-and-back action allows your eyes to take in lots of information. Knowing hazards ahead of time can help you adjust your balance and pick a line around them.
Braking
Braking on a mountain bike should be a controlled and considered. Most of your control braking power comes from your front brake, but grabbing a handful of front brake will send you doing cartwheels. Instead, lightly feather the brakes, and do so evenly on the front and back brakes. Avoid sudden, fast squeezes to help prevent skidding.
When braking stay in the ready position. Move your hips back, drop your heels down and keep a slight bend in your knees and elbows.
When to Brake
When approaching a turn, brake before you hit the turn, and then let your momentum carry you through. This allows you to focus on your technique through the turn and exit the turn with speed. Then apply the brakes ready for the next trail obstacle.
Momentum is your friend when getting up and over obstacles on the trail. Keep your momentum and you will often roll over or off certain features easily, if in doubt stop and look at the feature before riding it.
I hope you have enjoyed this article on body position and braking for beginner mountain bikers. If you would like to improve your mountain biking, like with any sport, getting a coach can mean you improve quicker and don’t pick up so many bad habits.
Kids will no doubt be counting the days until the summer holidays arrive, looking forward to the long six-week break from the classroom. Many parents, on the other hand, are likely to be busy counting their pennies to make sure they have enough to fund activities and excursions during the holidays.
The Sun revealed that parents spend an average of £502 over the six-week break buying video games and magazines, taking kids on day trips and covering the cost of extra childcare. When you add that to the average £335 they spend on food and drink for their youngsters as well as the £422.61 per teenager to go on a summer holiday, the costs mount up to over £1,000.
But do the school holidays need to be so expensive for mum and dad? With more than 40 per cent of parents admitting that they’re worried about affording the school break, there is a need for people to look for other options to entertain their children.
Chris Brown, from the National Citizen Service (NCS), said that the organisation could help give teenagers a productive way to spend their time, and alleviate the costs for parents.
“With the long break fast approaching, parents want to ensure that their teens are spending their time productively, without breaking the bank,” he told the newspaper.
An NCS summer programme lasts three to four weeks and is designed for 16 and 17 year olds. The aim is to help them develop life skills, gain confidence and become more active members of their community.
The Belfast Telegraph recently explained what’s included in an NCS programme, with one of the components being adventure. This involves youngsters trying a range of outdoor activities. Rock climbing, canoeing and archery were the ones suggested by the news provider.
But getting them started on mountain biking could be another option. The newspaper noted that the NCS isn’t the only way to get your teenagers involved in organised outdoor sessions. Encouraging them to participate in the Duke of Edinburgh (DofE) award is another option.
Part of the DofE involves planning and undertaking an expedition. This can be on foot, or on bikes, boats or even horses.
With either option, there’s a lot of scope for your teenagers to get active and do something productive with their summer break, without putting too big of a dent in their parents’ bank balance.
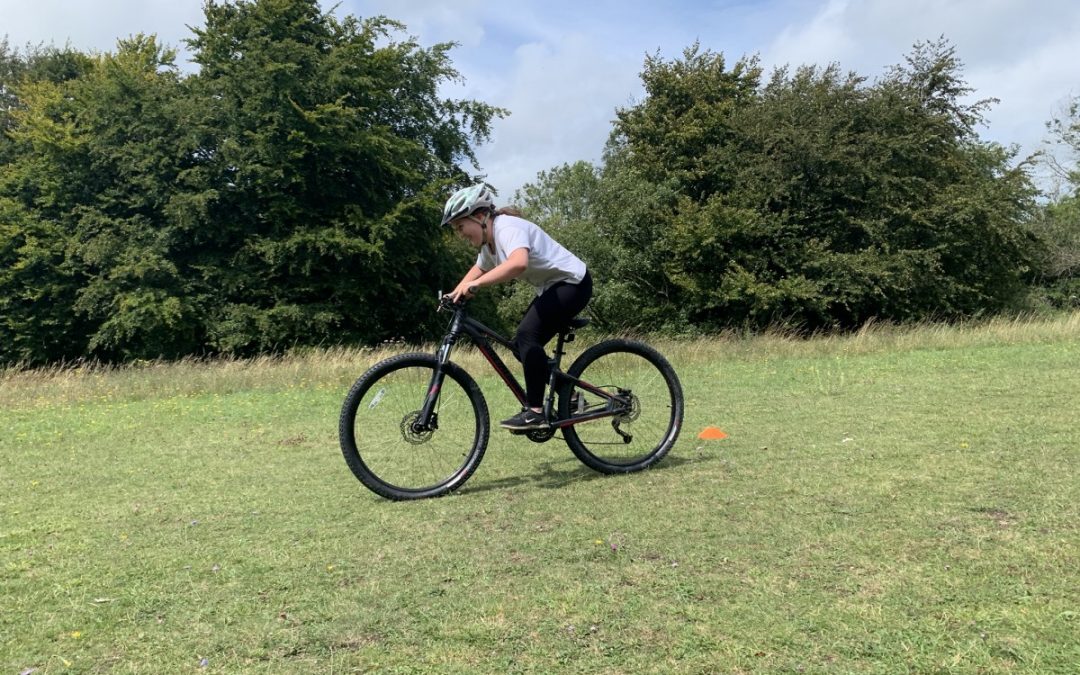
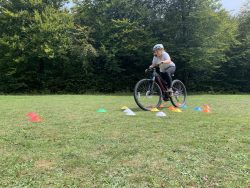
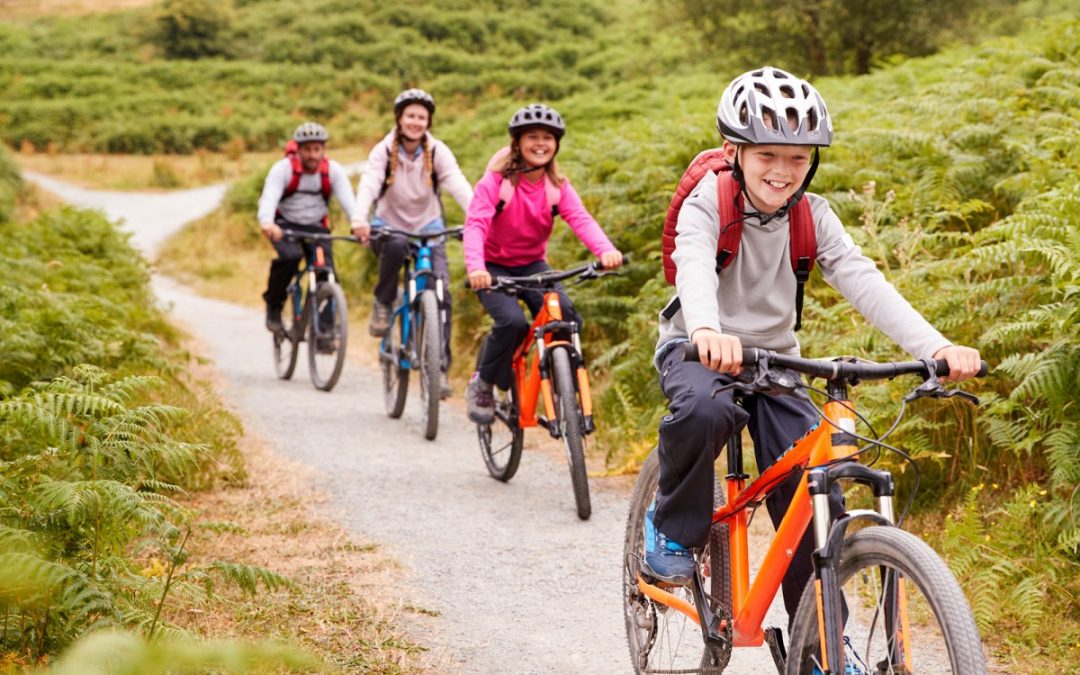
If your kids are interested in getting more out of their bikes, sending them on a beginner’s mountain bike course during the summer holidays could be the ideal way to keep them amused and tire them out.
The great thing is that there are mountain biking courses all over the country, so it’s an option almost no matter where you live.
Last summer, Red Bull described Wales as “one of the best mountain bike destinations in the UK”, so if you also love getting out and about on two wheels, this could be the ideal choice for a summer holiday.
The organisation picked out some of the best places for mountain biking in Wales, which included Antur Stiniog, near Snowdonia, BikePark Wales near Merthyr and Coed Llandegla near Wrexham.
If you’re looking for something for your children to do in Hampshire, Surrey or West Sussex look no further than a mountain bike course at Queen Elizabeth Country Park. options for all abilities and age range from 5 to 14 years.
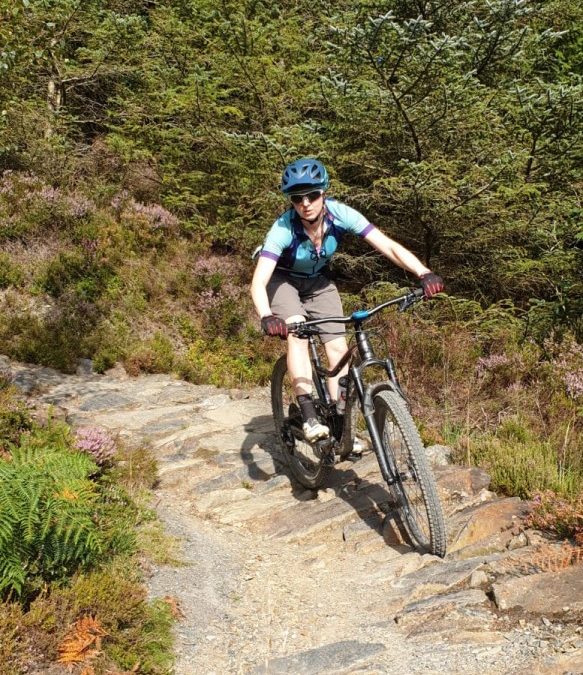
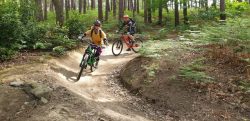
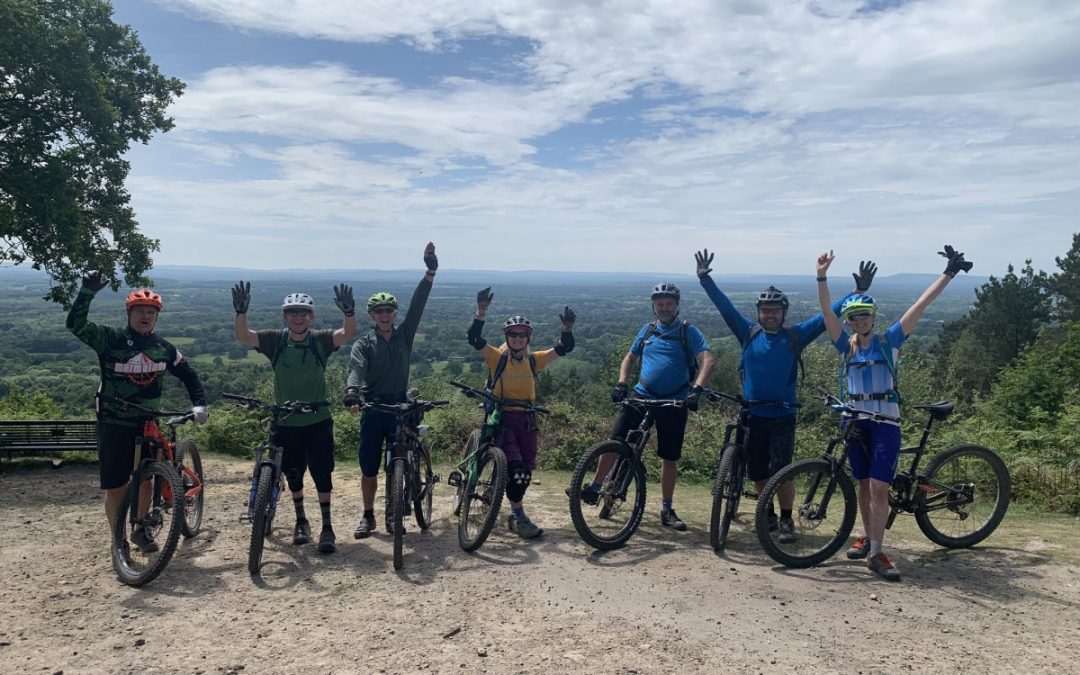
Two weeks ago before the British Summer time was swept away by a huge rain cloud we enjoyed a super weekend in the Surrey Hills. Not only was the weather tip top but the biking was pretty mega too!
Over two days our latest group of clients came on leaps and bounds as the honed their trail skills and crafted their flow on some of Surrey’s best known mountain bike trails like Barry Knows Best, Yogurt Pots and Summer Lightning to name but a few!
Here are some action shots from the weekend. If it looks like good fun and you would like to join our next adventure check out our mountain bike weekend page here.
Feedback from Candy:
What a great weekend thank you Hannah for specially helping me. I do feel much more confident now!!! And thanks to Paul who helped to set up my bike and guiding me. What a lovely bunch of people on the course.Thanks for your help and encouragement, guys, when I was flagging! The food was lovely too.Fantastic way to spend a weekend in glorious countryside! 🚴♀️
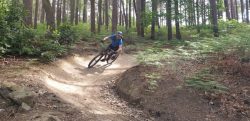
Drop offs come in all shapes and sizes, from rock steps, tree stumps/roots or purpose-built obstacles. Learning to negotiate these by jumping will help your trail flow and improve your riding.
At some point on red graded trails you will come across a drop off. In some cases these can be rolled, but sometimes and to add some fun they will need to be jumped. Rolling will only work with smaller drops. The bigger the drop the bigger the risk of catching your chainring and going for flying lessons, something we all try to avoid!!
Start with learning how to manual on a flat field (video on its way) then progress to little curb sized drop offs where if you get it wrong it won’t matter too much.
Tips:
Enter at jogging pace
Spot your exit point
Pump down and back as you manual off the lip of the drop off, pushing the bike forwards
Try and land two wheels at the same time, if you are landing onto a downward slope your front wheel may get there first
Remember to keep your weight down and back, heels down
Once you have got your manual technique sorted on smaller drop offs it’s time to look at bigger drops. With more speed you can just slide your weight back and need less pump to get you over the drop. These will usually require a bit more speed and the entry and exit lines become very important. As you enter the drop off you need to commit, come off the brakes and spot your landing. On exiting let the bike land before cornering or braking, in an ideal world, look where you want to go!
Try walking a new line before riding it so you can spot the best line through the feature.
Thank you for reading, check back for more posts on mountain biking and Pilates soon!
THIS WEBSITE USES COOKIES
We use cookies to personalise content and ads, to provide social media features and to analyse our traffic. We also share information about your use of our site with our social media, advertising and analytics partners who may combine it with other information that you’ve provided to them or that they’ve collected from your use of their services. You can review our Privacy and Cookie Policies and at any time change or withdraw your consent from the Cookie Declaration on our website.OkPrivacy policy